Intake Manifold Removal/Installation
Intake Manifold Removal and Installation
View
1. Intake Manifold Exploded View
Exploded View
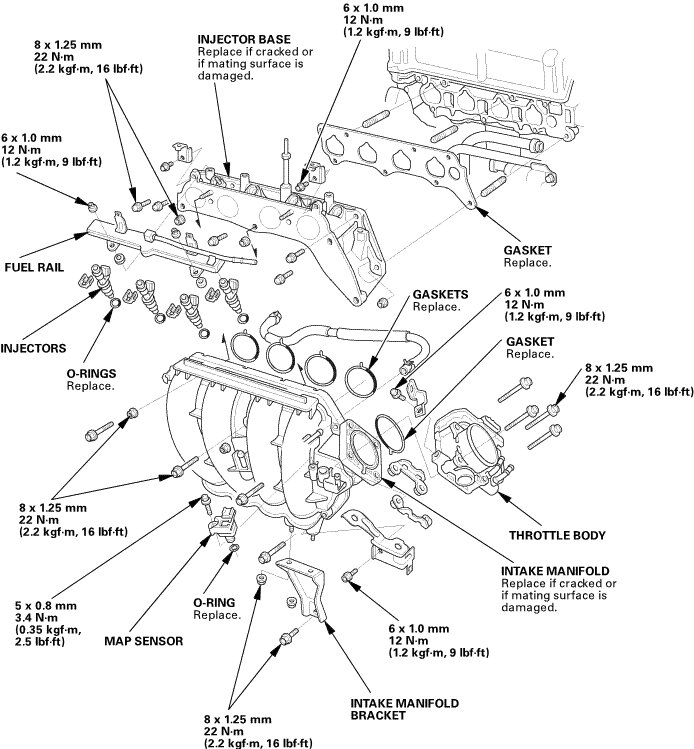
Removal
NOTE: Refer to the Exploded View if needed during this procedure.
1. Engine Cover
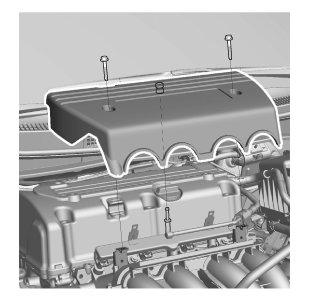
1. Remove the engine cover.
2. Intake Air Duct
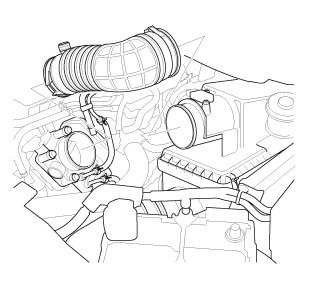
1. Remove the intake air duct.
3. Throttle Body - Removal
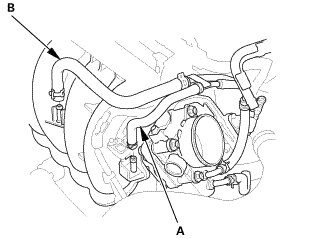
1. Disconnect the EVAP canister hose (A) and the brake booster vacuum hose (B).
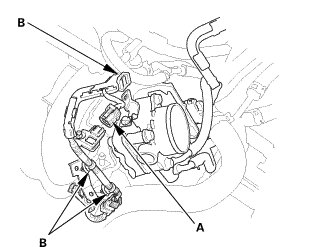
2. Disconnect the connector (A).
3. Remove the harness clamps (B).
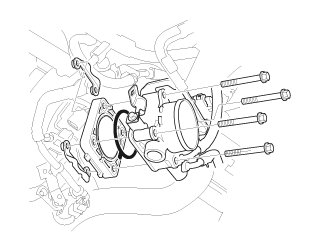
4. Remove the throttle body without disconnecting the hoses.
4. Intake Manifold Assembly
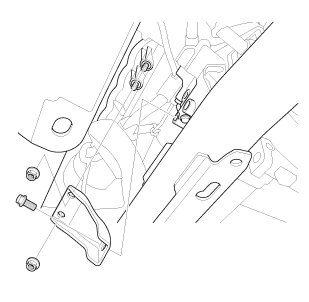
1. Remove the intake manifold bracket.
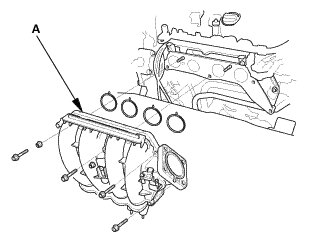
2. Remove the intake manifold (A).
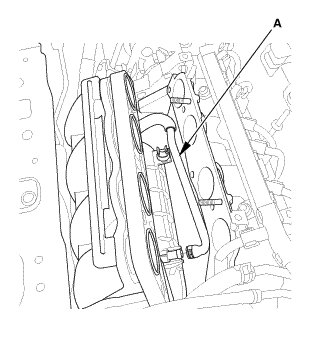
3. Disconnect the PCV hose (A).
Installation
NOTE: Refer to the Exploded View if needed during this procedure.
1. Intake Manifold Assembly
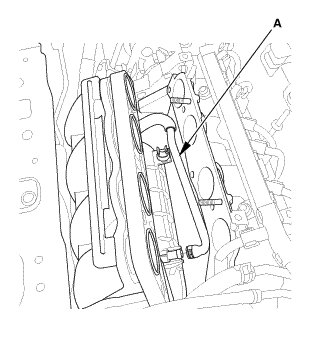
1. Connect the PCV hose (A).
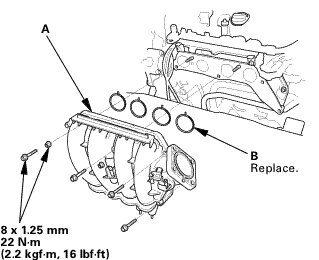
2. Install the intake manifold (A) with new gaskets (B).
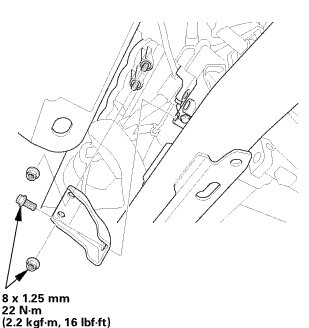
3. Install the intake manifold bracket.
2. Throttle Body - Installation
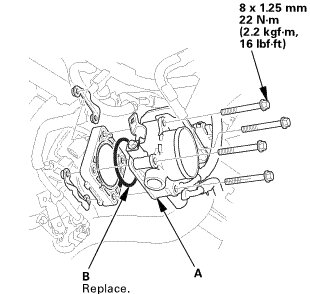
1. Install the throttle body (A) with new gasket (B).
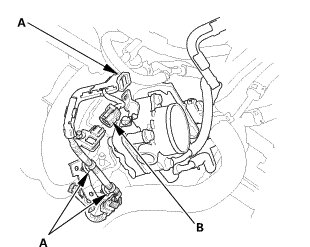
2. Install the harness clamps (A).
3. Connect the connector (B).
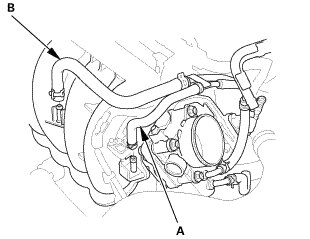
4. Connect the EVAP canister hose (A) and the brake booster vacuum hose (B).
3. Intake Air Duct
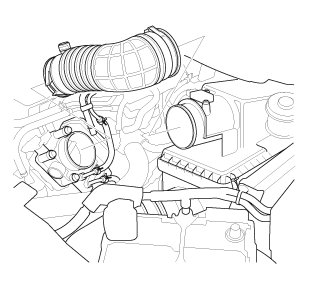
1. Install the intake air duct.
4. Engine Cover
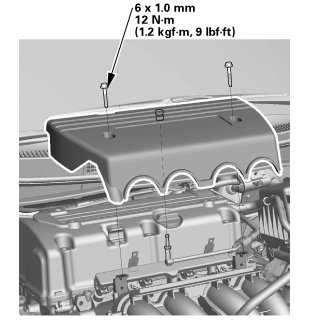
1. Install the engine cover.
5. Tubes, Hoses, and Connectors After Installation Check
1. After installation, check that all tubes, hoses, and connectors are installed correctly.