Repair procedures: Disassembly
- Remove the stopper plate (A).
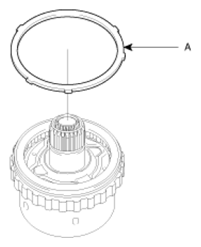 Courtesy of KIA MOTORS AMERICA, INC.
- Remove the one way clutch (A).
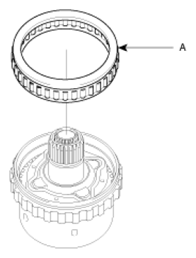 Courtesy of KIA MOTORS AMERICA, INC.
- Remove the snap ring (A).
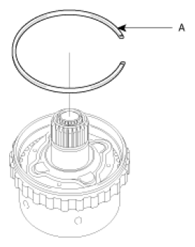 Courtesy of KIA MOTORS AMERICA, INC.
- Remove the output planetary carrier assembly (A).
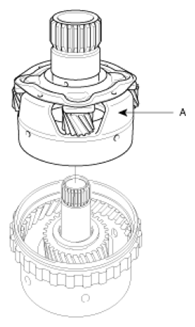 Courtesy of KIA MOTORS AMERICA, INC.
- Remove the thrust bearing (A).
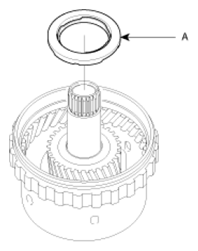 Courtesy of KIA MOTORS AMERICA, INC.
- Remove the underdrive sun gear (A).
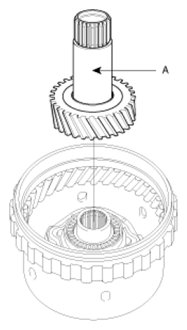 Courtesy of KIA MOTORS AMERICA, INC.
- Remove the thrust bearing (A).
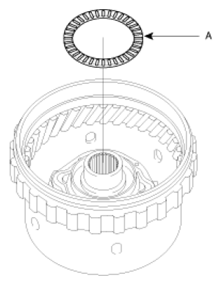 Courtesy of KIA MOTORS AMERICA, INC.
- Take out the snap ring (A) from the back side of the low & reverse annulus gear (B).
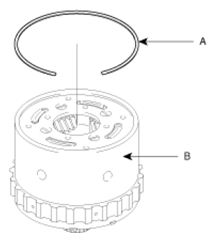 Courtesy of KIA MOTORS AMERICA, INC.
- Remove the overdrive planetary carrier assembly (A).
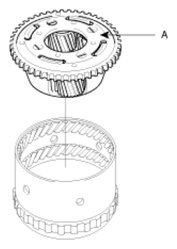 Courtesy of KIA MOTORS AMERICA, INC.