General Information (M5AF3): Removal
- Remove the battery terminal and the battery.
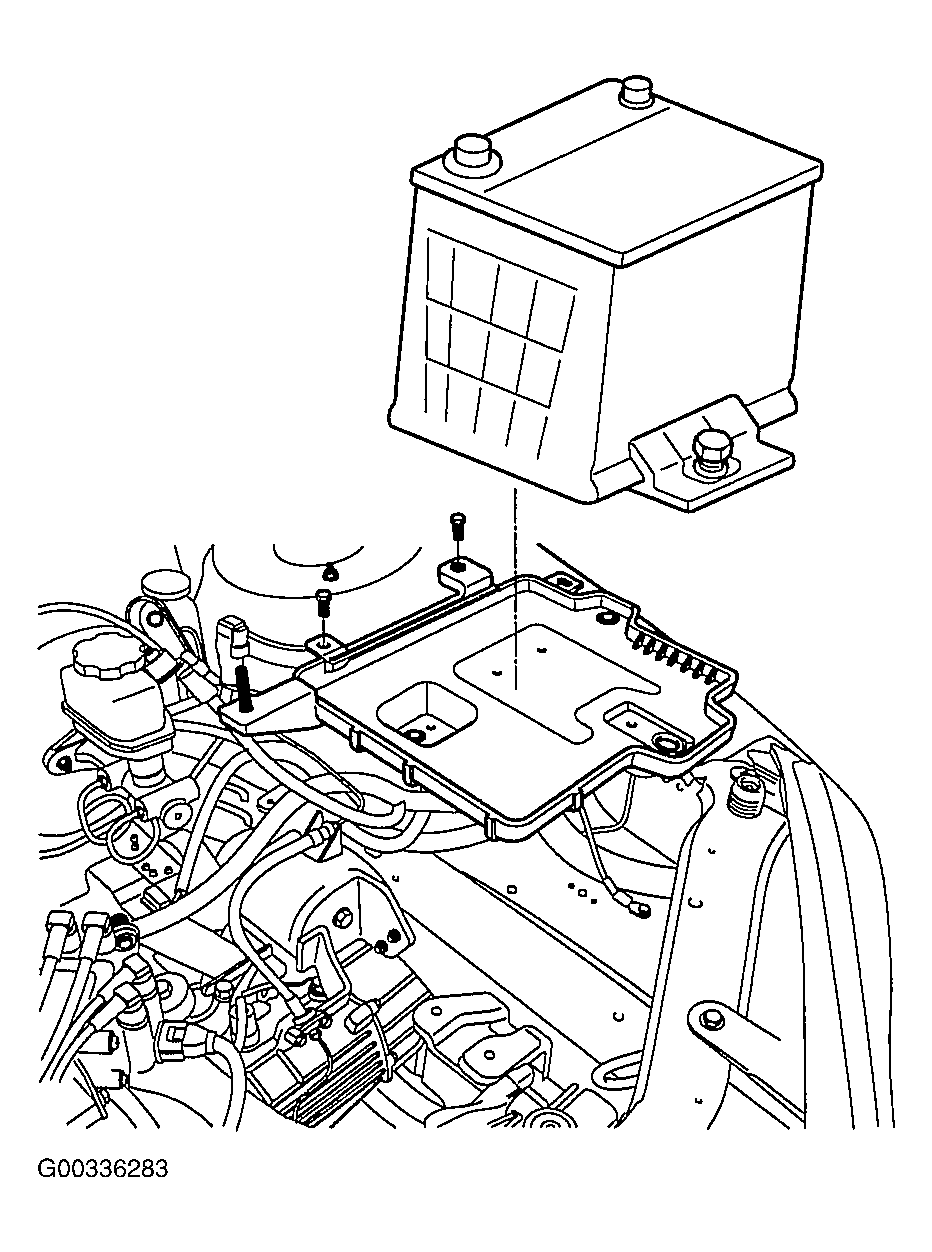 Courtesy of HYUNDAI MOTOR CO.
- Remove the air cleaner.
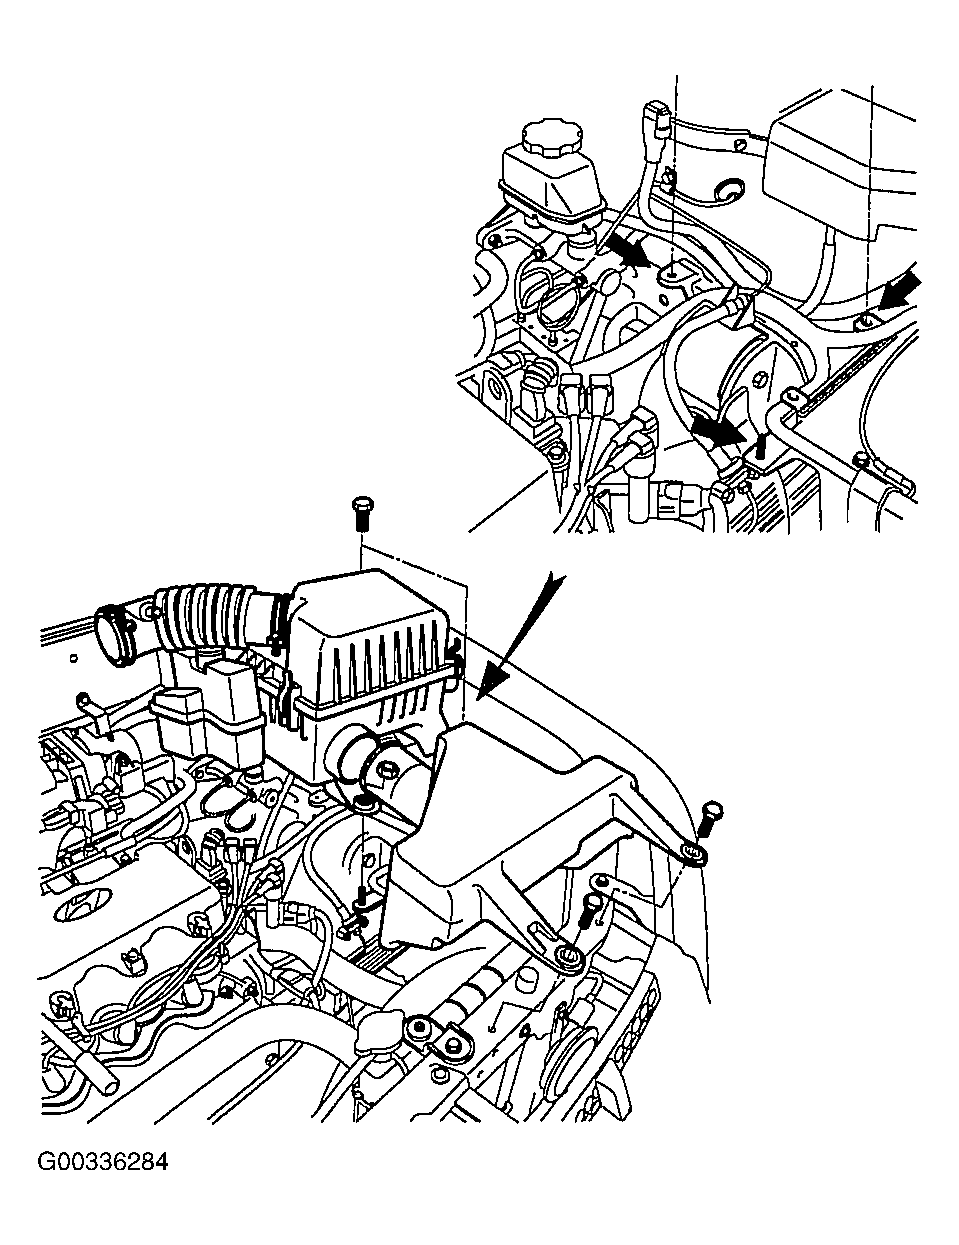 Courtesy of HYUNDAI MOTOR CO.
- Remove the back-up lamp switch.
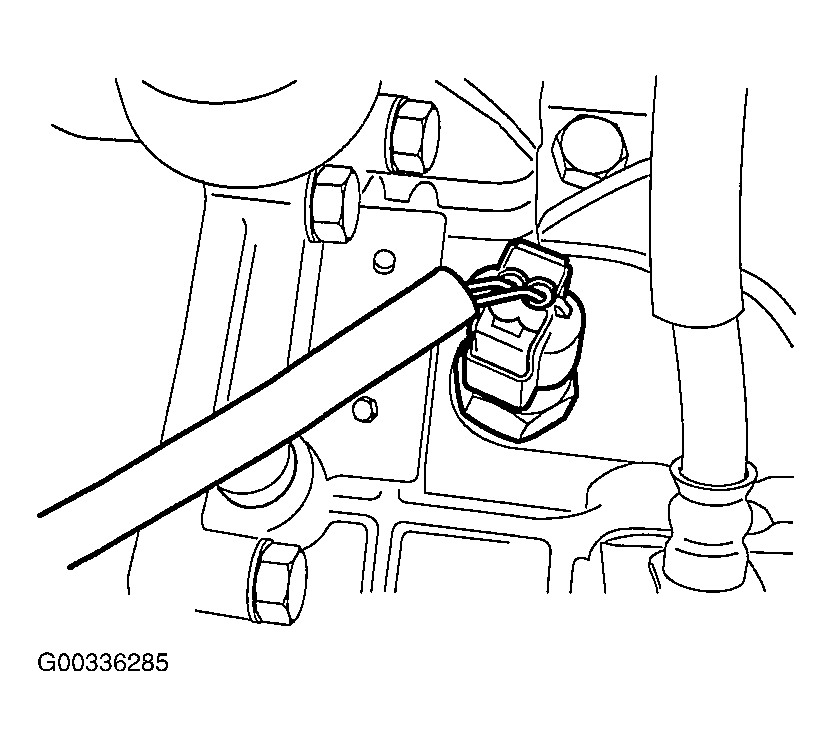 Courtesy of HYUNDAI MOTOR CO.
- Remove the clutch release mounting bolts.
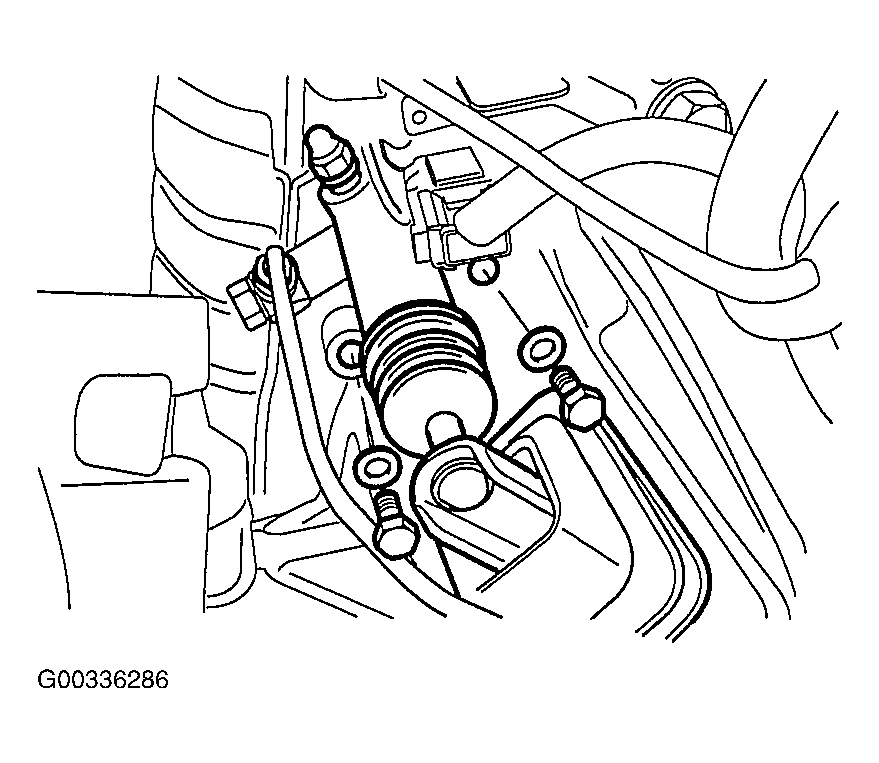 Courtesy of HYUNDAI MOTOR CO.
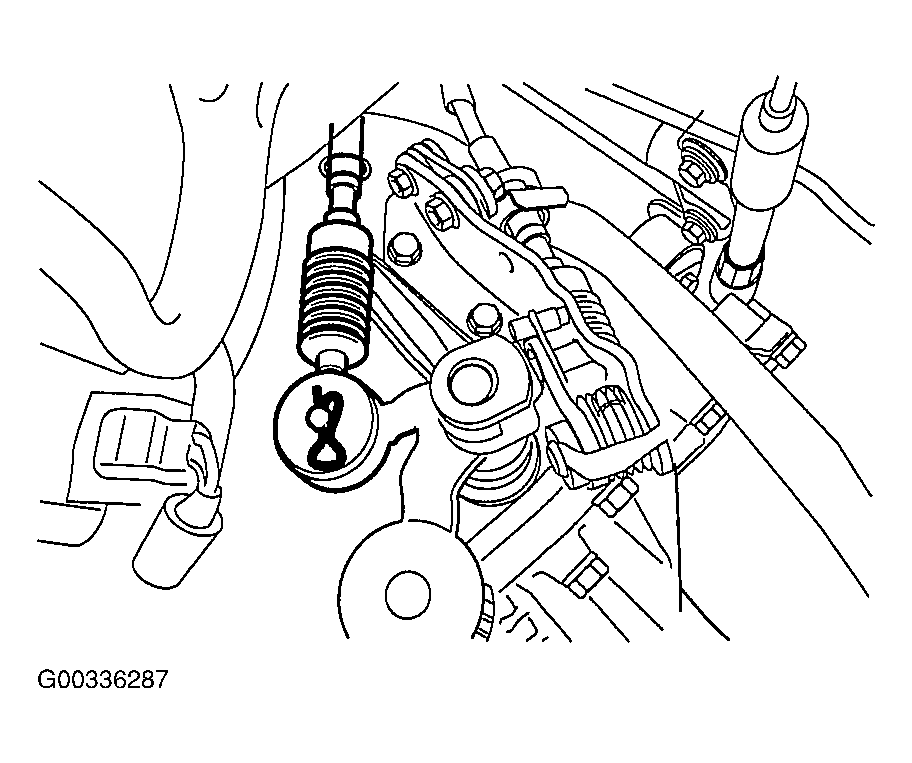
- Remove the cotter pin of the shift cable.
 Courtesy of HYUNDAI MOTOR CO.
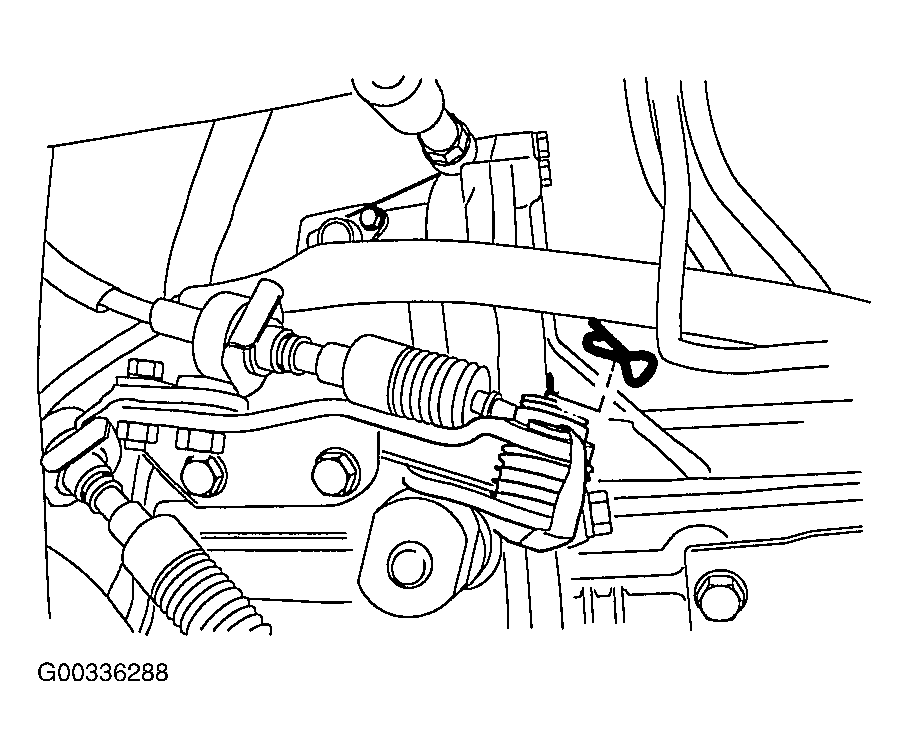
- Remove the cotter pin of the selector cable.
 Courtesy of HYUNDAI MOTOR CO.
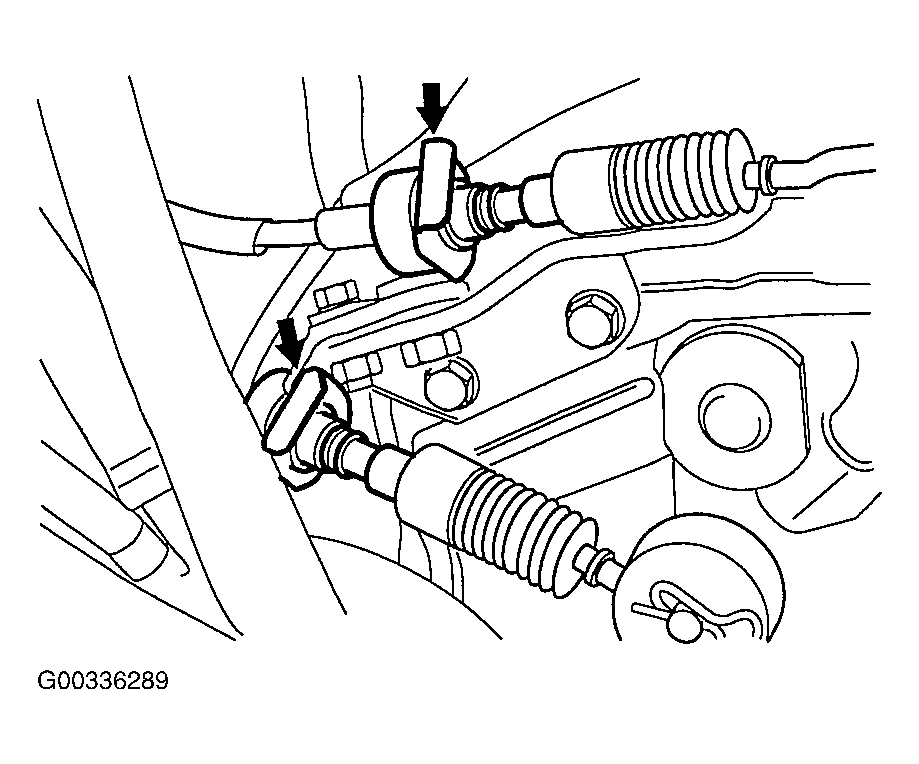
- Remove the clip of the shift cable.
- Remove the clip of the selector cable.
 Courtesy of HYUNDAI MOTOR CO.
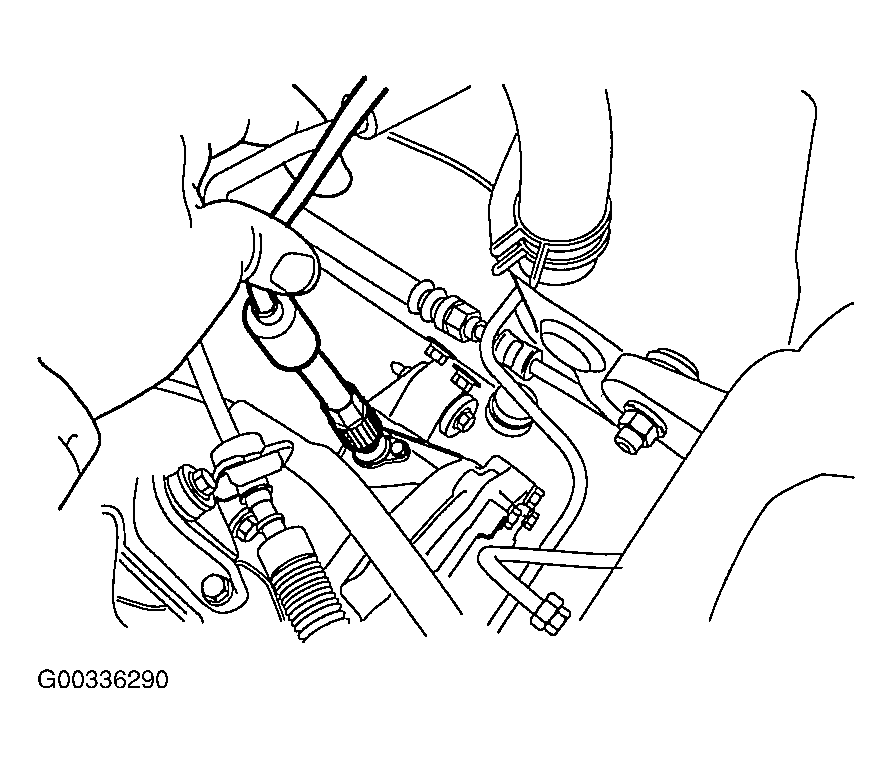
- Remove the speedometer driven gear connector.
 Courtesy of HYUNDAI MOTOR CO.
- Remove the u-joint.
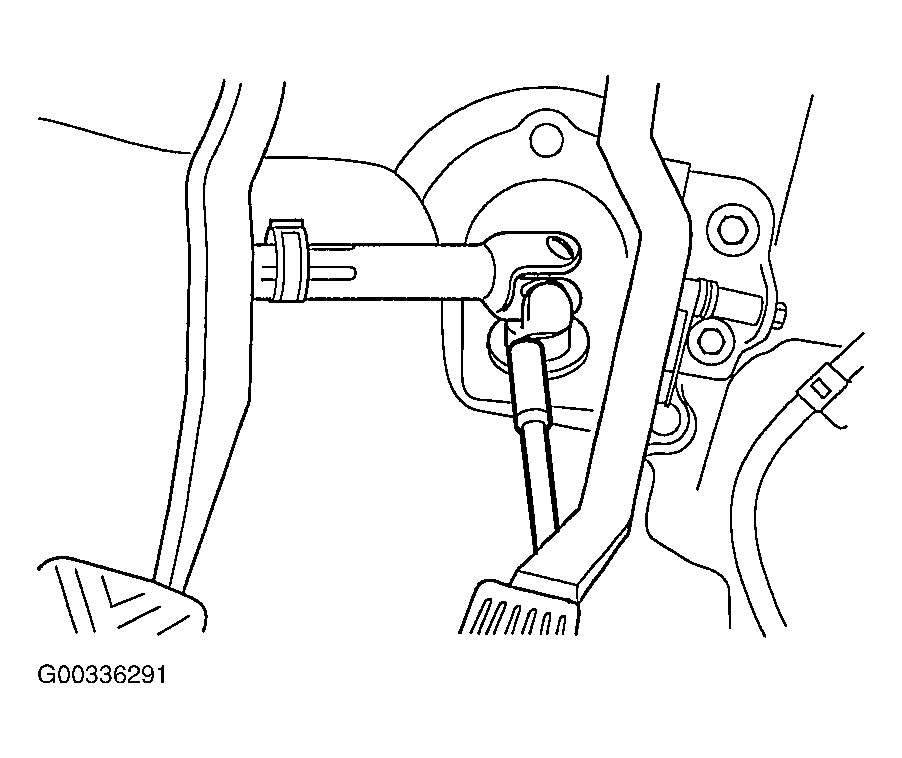 Courtesy of HYUNDAI MOTOR CO.
- Remove the power steering return hose.
- Remove the tire.
- Remove the starter motor.
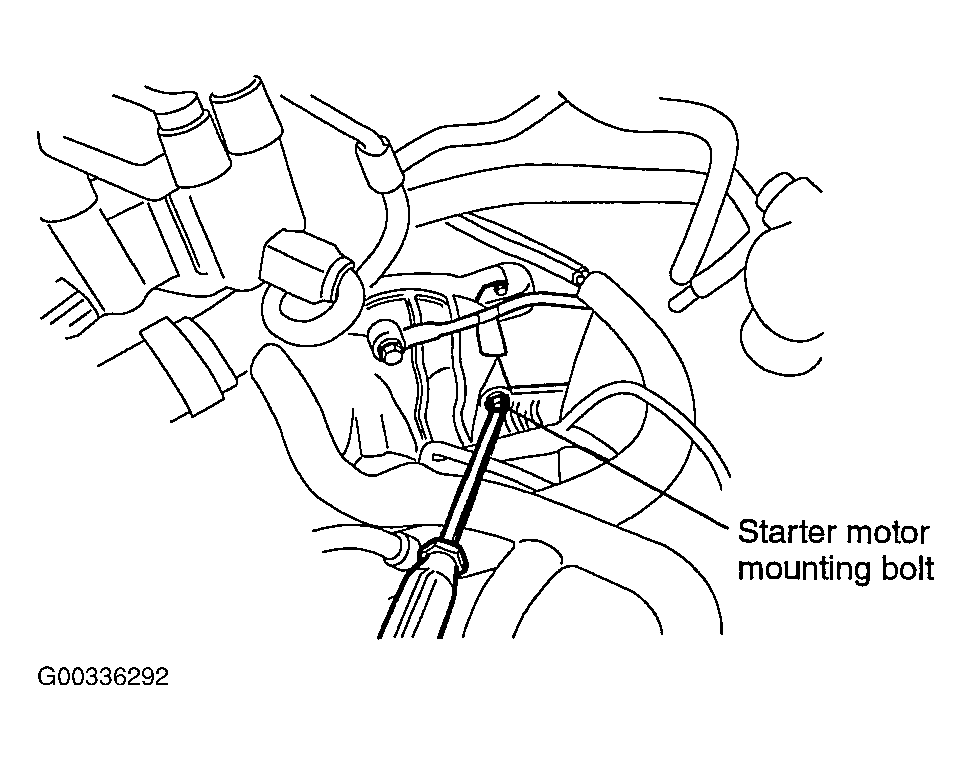 Courtesy of HYUNDAI MOTOR CO.
- Remove the bolt for the upper connection of the engine and the transaxle.
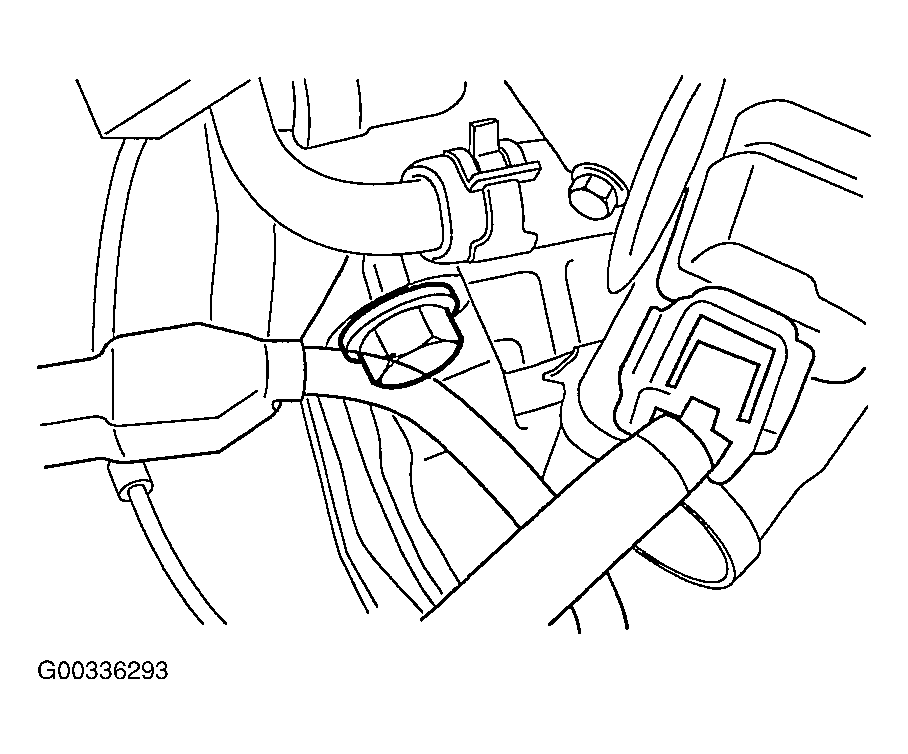 Courtesy of HYUNDAI MOTOR CO.
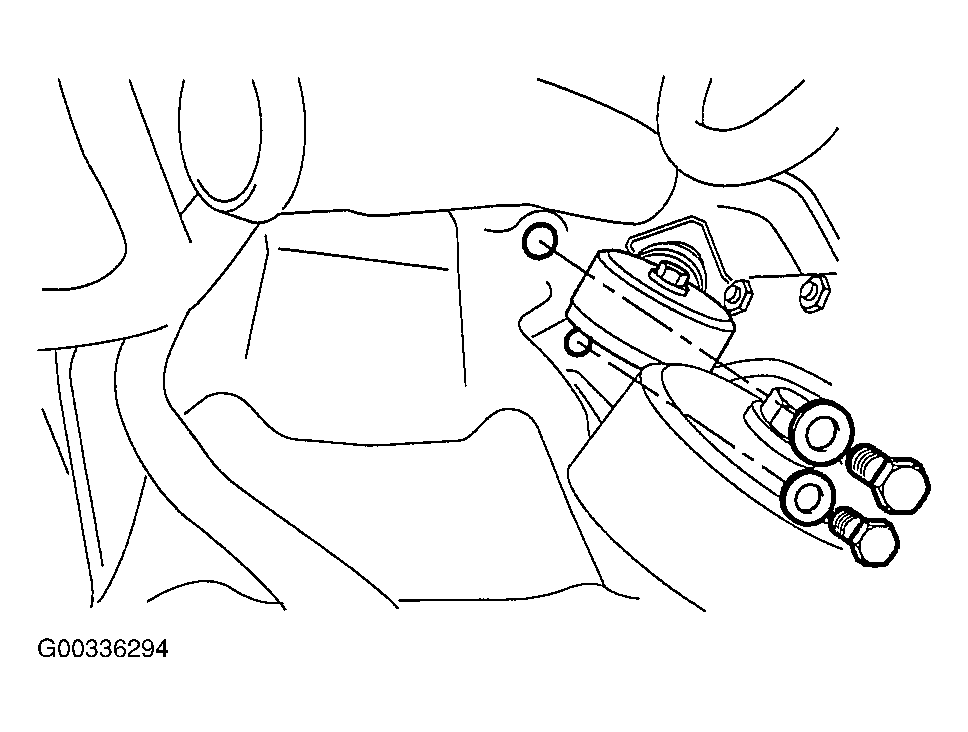 Courtesy of HYUNDAI MOTOR CO.
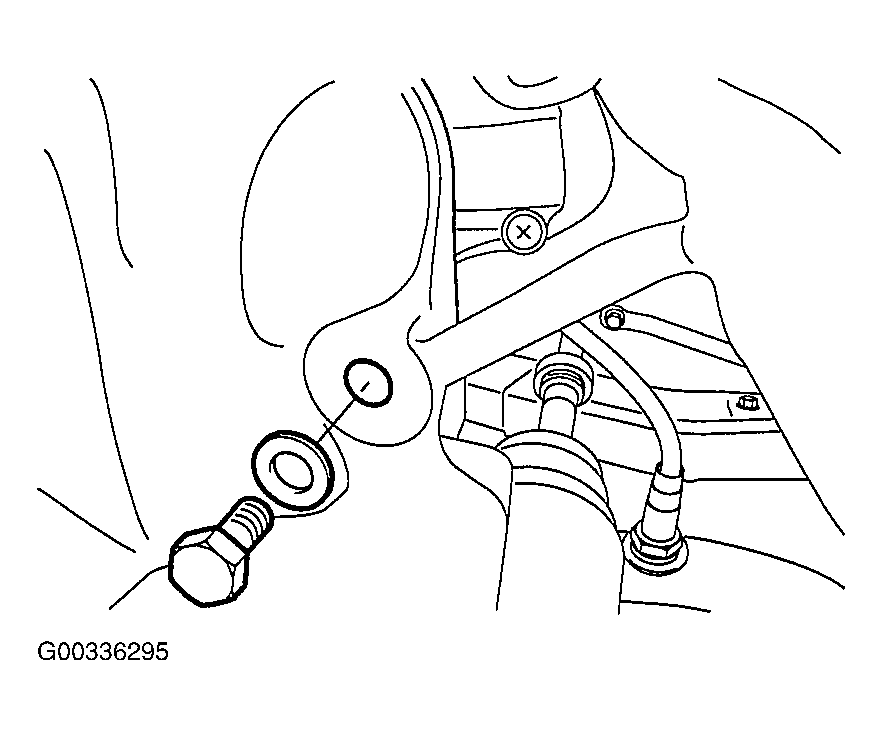 Courtesy of HYUNDAI MOTOR CO.
- Remove the caliper after lifting up the vehicle.
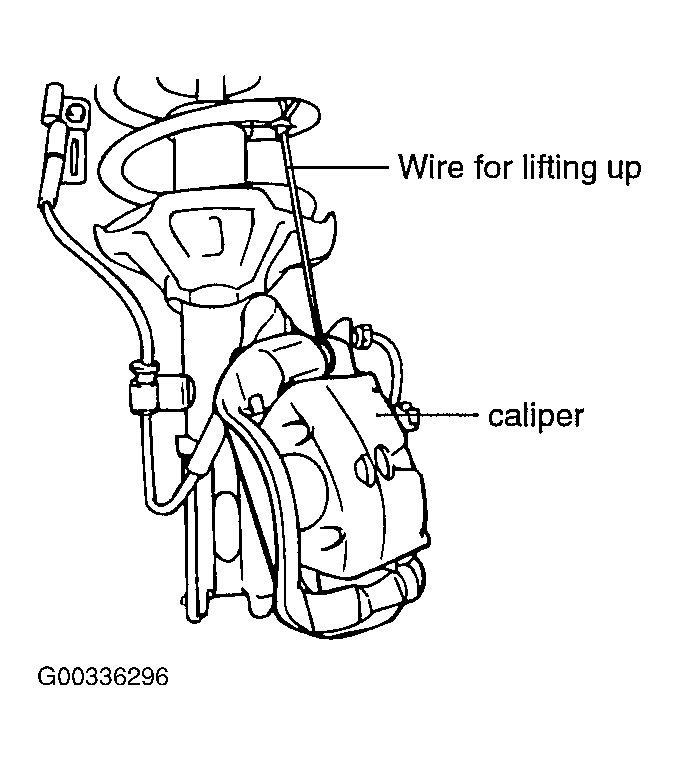 Courtesy of HYUNDAI MOTOR CO.
- Separate the tie rod end from the pin and nut.
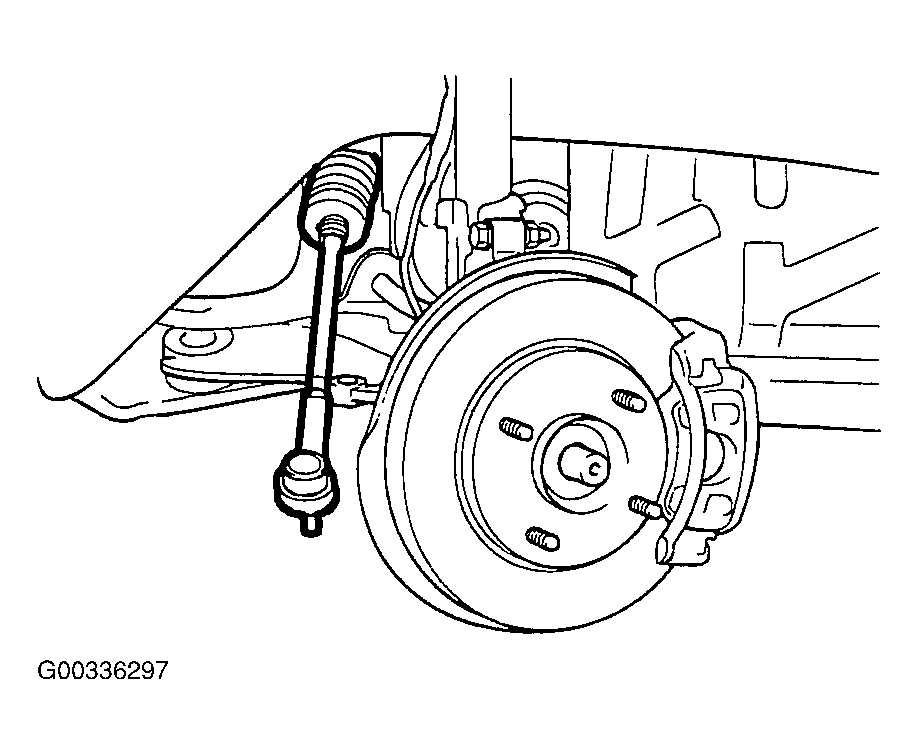 Courtesy of HYUNDAI MOTOR CO.
- Remove the oil drain plug and drain the oil.
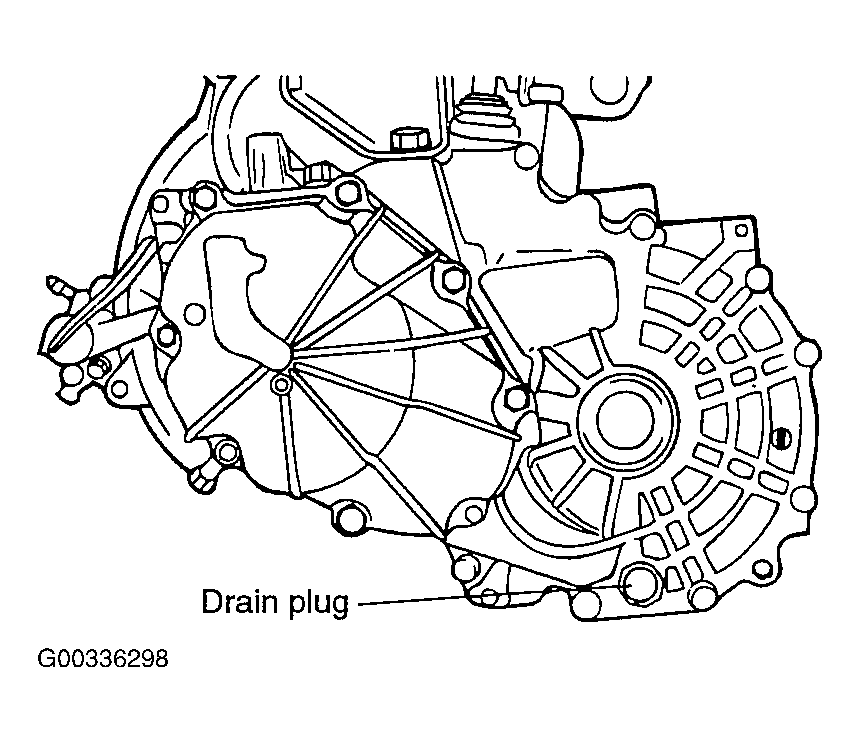 Courtesy of HYUNDAI MOTOR CO.
- Remove the wheel speed sensor and the knuckle mounting bolt.
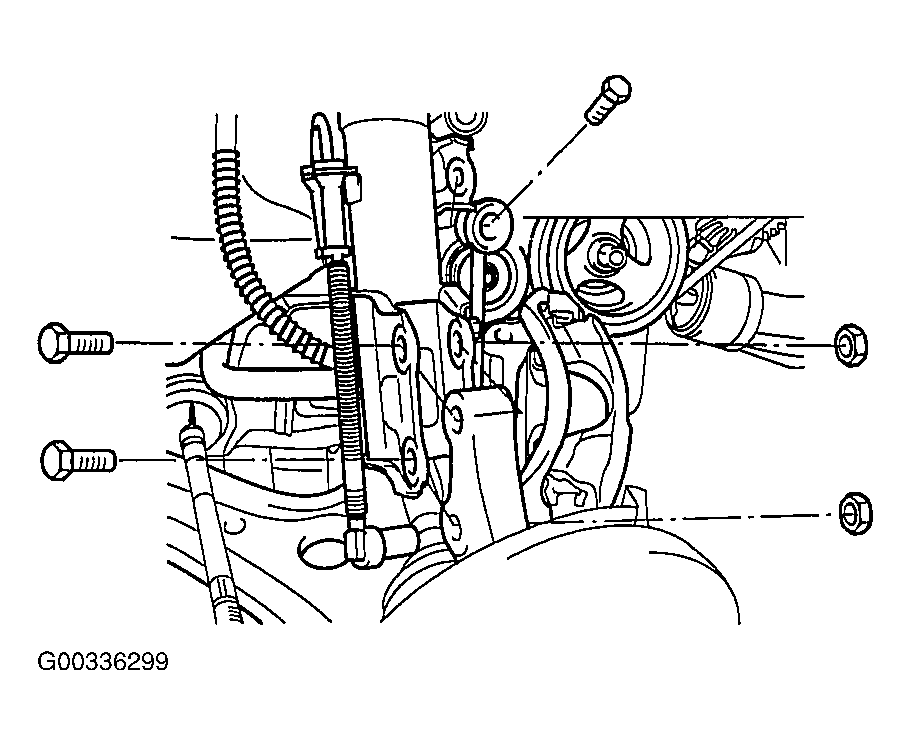 Courtesy of HYUNDAI MOTOR CO.
- Remove the drive shaft and the hub nut.
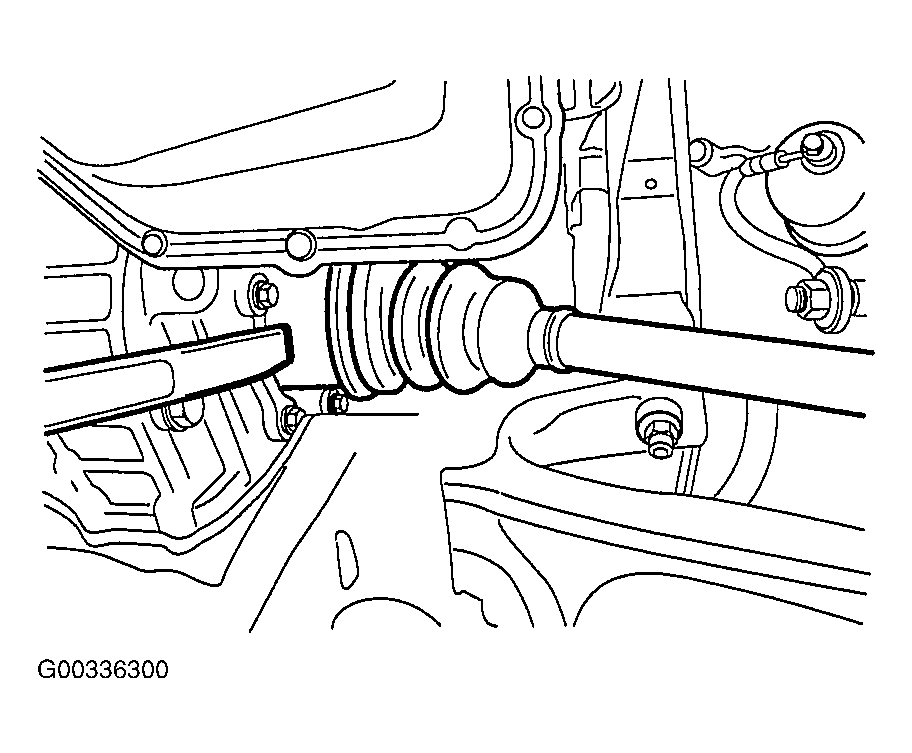 Courtesy of HYUNDAI MOTOR CO.
- Install the special tool, the engine support fixture on the engine assembly.
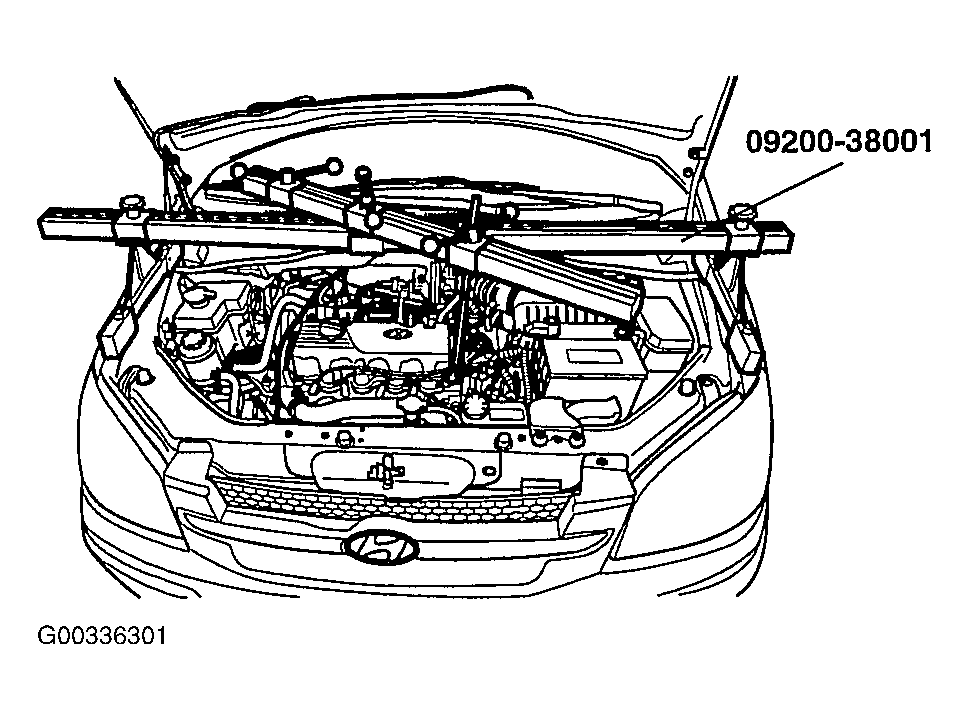 Courtesy of HYUNDAI MOTOR CO.
- Remove the transaxle mounting bracket after removing the hole cover and the mounting bolts.
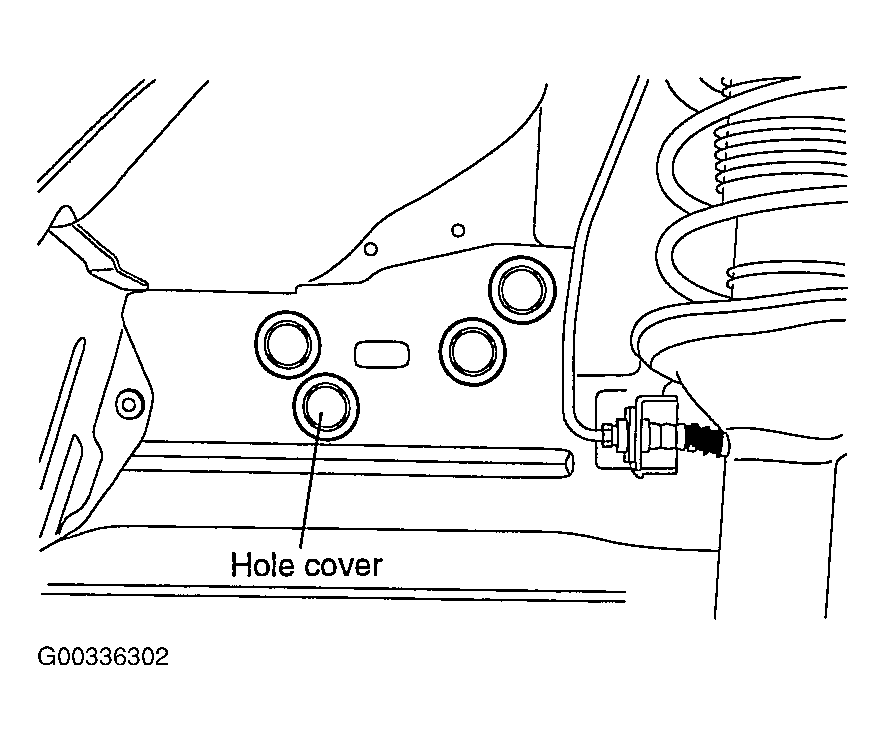 Courtesy of HYUNDAI MOTOR CO.
- Remove the front roll stopper.
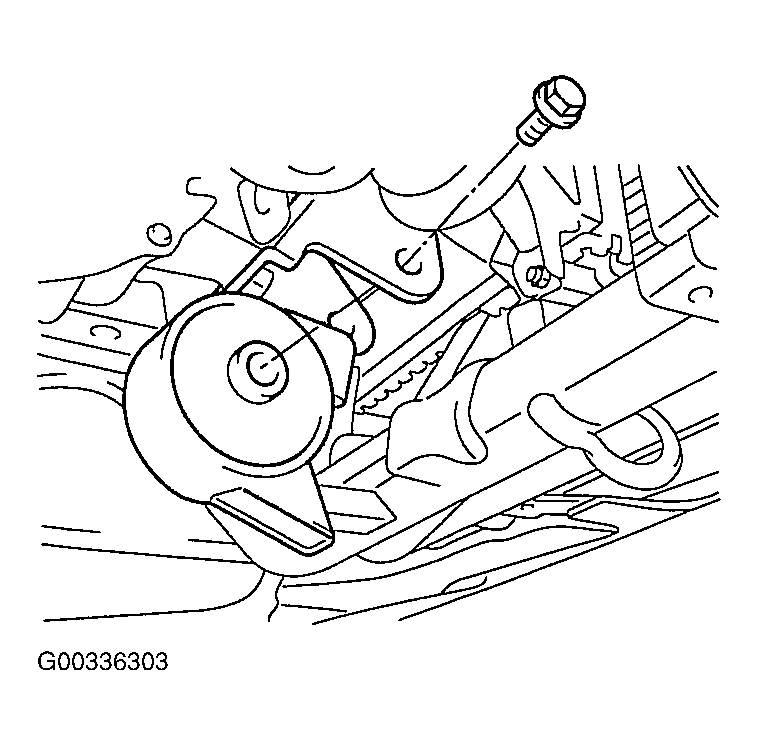 Courtesy of HYUNDAI MOTOR CO.
- Remove the rear roll stopper.
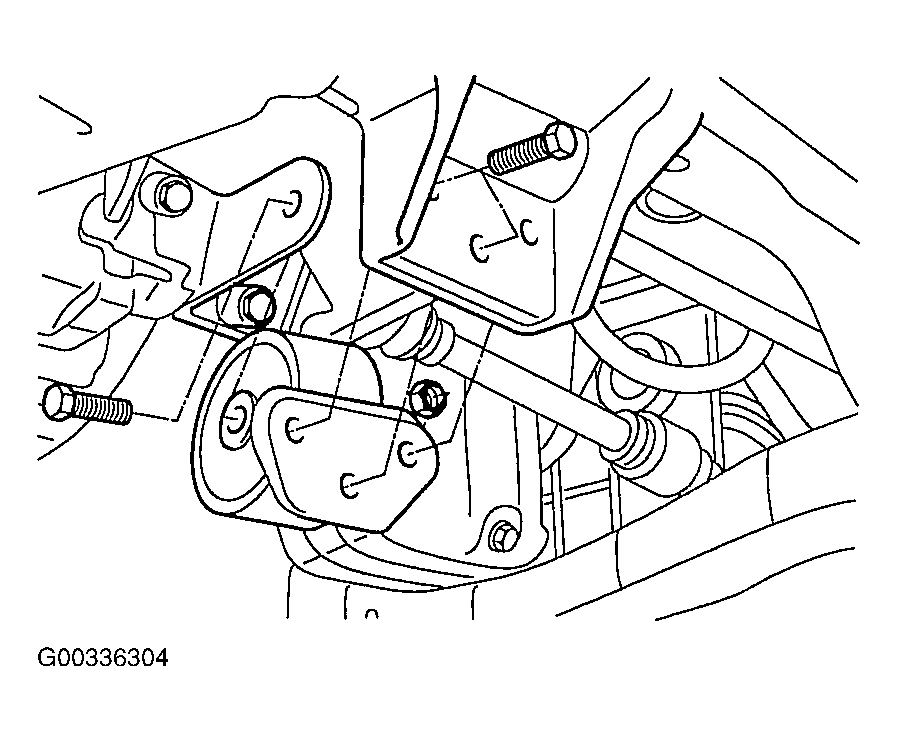 Courtesy of HYUNDAI MOTOR CO.
- Remove the front muffler.
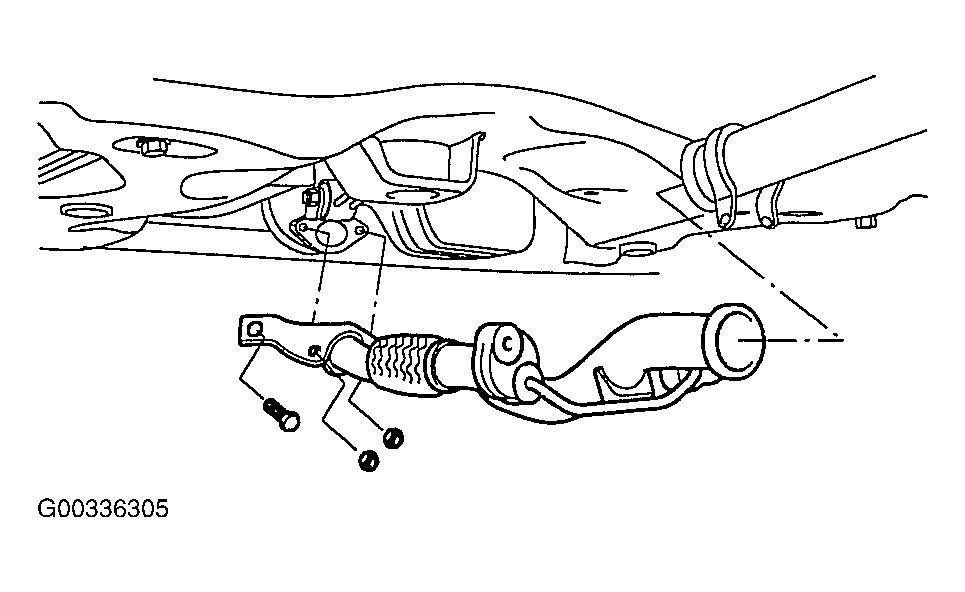 Courtesy of HYUNDAI MOTOR CO.
- Remove the bell housing cover. (Bolt : 5EA)
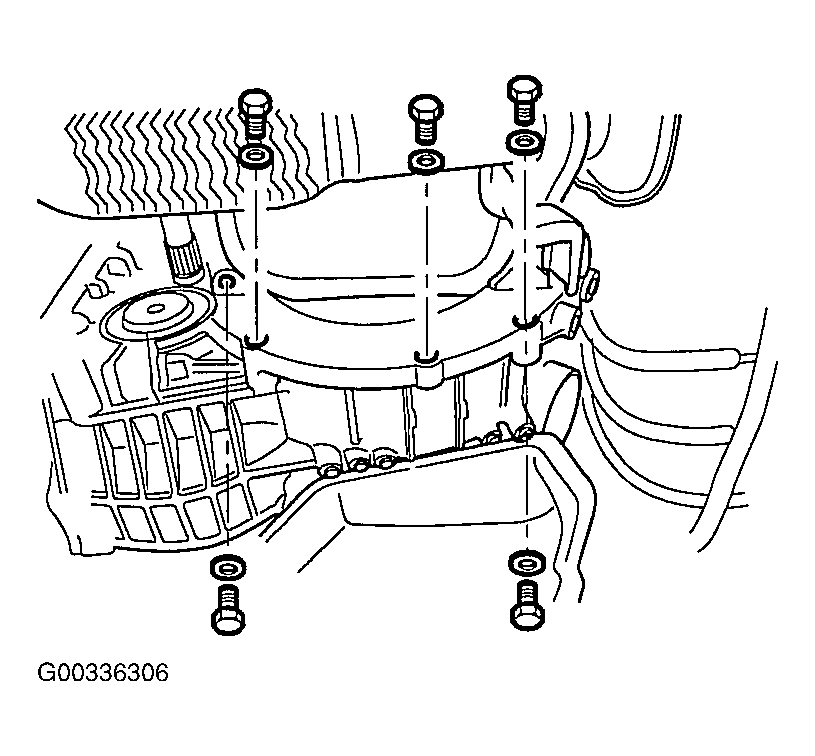 Courtesy of HYUNDAI MOTOR CO.
- Install the jack for supporting transaxle.
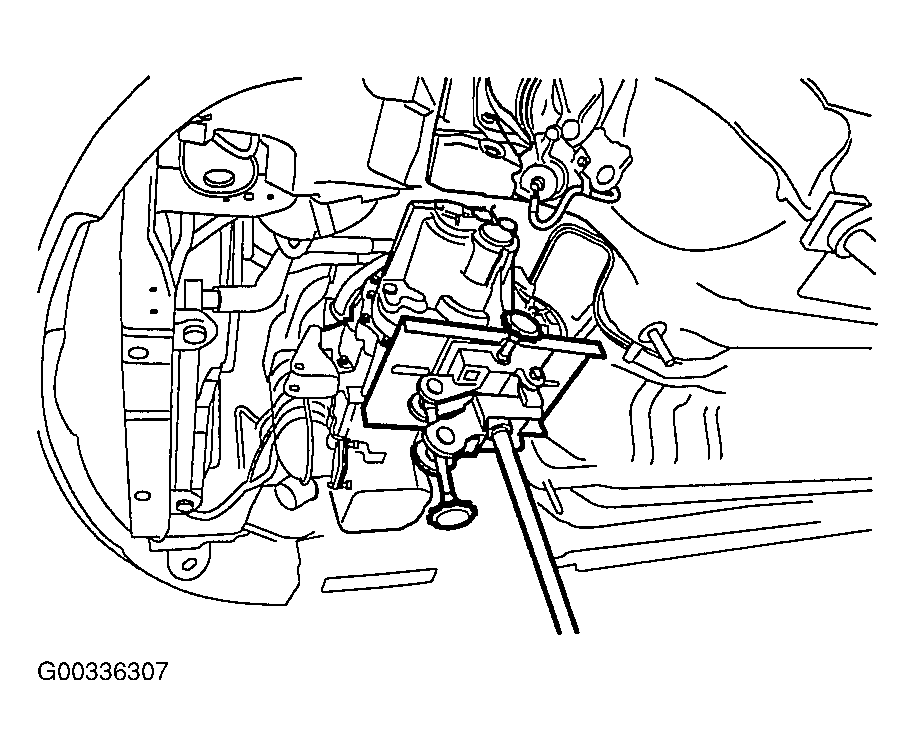 Courtesy of HYUNDAI MOTOR CO.
- Remove the sub frame.
- Remove the lower mounting bolts of the transaxle.
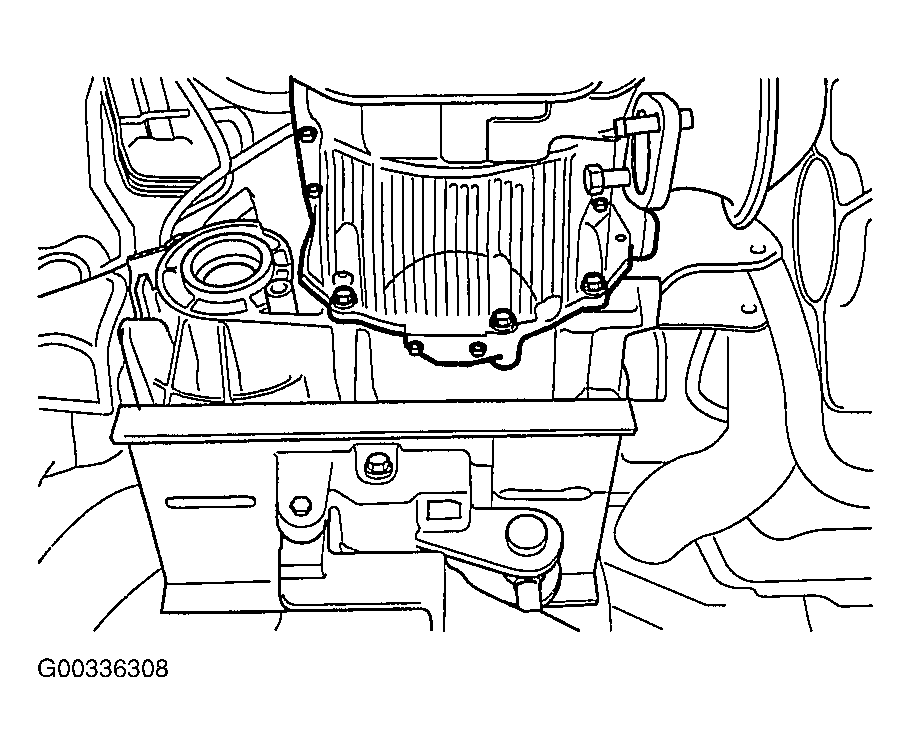 Courtesy of HYUNDAI MOTOR CO.
- Remove the transaxle.